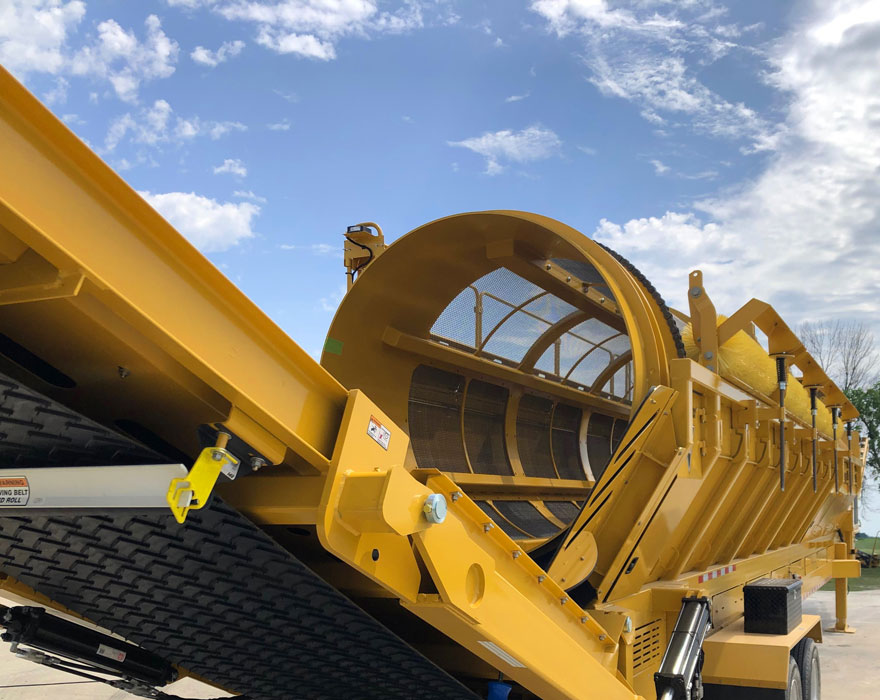
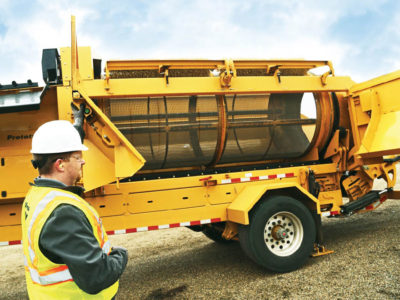
Vermeer designed its line of trommel screens to help make changing screens quick and efficient. Here are a few tips to guide you through the process of swapping out screens on your Vermeer TR5300, TR5300EM, TR521, TR6400, TR626 or TR626EM trommel screens. Also, be sure to review the operator’s manual for complete details about the screen-changing process for your specific trommel screen model.
Step 1: Gather your tools and supplies
Inside the toolbox on your trommel screen, you’ll find a couple of sets of screen lift hooks and a lift chain. To help do the job, you’ll need those supplies, something to assist with lifting the screens, wrenches, blocks and two people.
Did you know: The efficient tension screen design on Vermeer trommel screens requires significantly fewer bolts to secure the screens to the drum than units that use rigid screens. Fewer bolts means less hardware to remove and then secure during the screen-changing process.
Step 2: Prepare screens for removal
Before unbolting the screens, block both ends of the drum to prevent it from rolling during the screen-changing process. Once that is complete, position one person inside the drum and the other outside to attach the lift hooks at the top of the screen. Leave at least 4 inches (10 cm) from the edge of the screen. Be sure to choose the appropriate size of lift hooks for the screen openings.
Did you know: Vermeer trommel screens are designed with removable side panels that allow the operator to expose the full length of the drum screen for convenient maintenance and cleaning.
Step 3: Remove existing screens
Attach the supplied lift chain (or one rated for 4,700 pounds [2100 kg]) to the lift hooks and a suitable lifting device, like a hoist, overhead crane or excavator. After that is completed, loosen the five bolts from the inside the drum until the screen clamp touches the side of the lift bar. Once that’s done, exit the drum and unlatch the upper J-hook end of the screen from the drum.
Now, the screen should be free from the drum and can be removed.

Step 4: Prepare new screen for installation
Make sure the drum is rotated so the tensioners are at the 10:00 o’clock position and the fixed end is at the 4:00 o’clock position. Now, block both ends of the drum to help prevent rolling.
Next, attach the appropriately sized lift hooks to the top screen being installed, staying 4 inches (10 cm) from the edges of the screen. Then, lift the screen into position with the same chain and lift device used for removing the existing screen.
Step 5: Secure screen to drum.
Once the screen is positioned in the open drum areas, attach the upper J-hook onto the screen clamp from the outside of the drum. You may want to use an alignment punch to help get everything into position.
Next, secure the lower-J-hook end to the fixed side of the drum, and then adjust the bolts from the inside of the drum until the screen is evenly tensioned on the drum. Check for and resolve any air gaps, remove the lift chain and lift hooks and repeat for each screen panel.
Did you know: The ability to tension the screen around the drum allows the use of smaller gauge wire, which increases the open area of the screen to help improve productivity.
Additional considerations
Duwayne Bonhorst, Vermeer product specialist for trommel screens, recommends swapping out all the screens on one side of the drum and then rotating the drum to the other side using the control panel’s jog button. “Some Vermeer trommel screen owners say their team has gotten so efficient at changing screens that they sometimes do it in as little as 15 minutes per panel,” he said.
So, depending on the Vermeer trommel drum model you are using, it may only take two-three hours to change out all the screens on your machine. However, Bonhorst said it might be time to consider investing in an additional drum if you are swapping out screens frequently. “On some trommel screens, swapping drums can be done in less than an hour, which makes stocking an extra drum is an efficient solution for operations making material sizing adjustments regularly.”
Did you know: The Vermeer TR6400 features a single-hinged drum door that gives you full-length access to the drum from the ground. This design helps make swapping drums efficient.
If you need additional help with changing screens on your trommel screen, give your local Vermeer dealership a call. For more information about Vermeer trommel screens, visit vermeer.com/trommel-screens.
Refer to your machine’s operator’s and/or maintenance manual for machine-specific information and safety messages. Vermeer Corporation reserves the right to make changes in product engineering, design and specifications; add improvements; or discontinue manufacturing or distribution at any time without notice or obligation. Equipment shown is for illustrative purposes only and may display optional accessories or components specific to their global region. Please contact your local Vermeer dealer for more information on machine specifications.
Vermeer and the Vermeer logo are trademarks of Vermeer Manufacturing Company in the U.S. and/or other countries.
