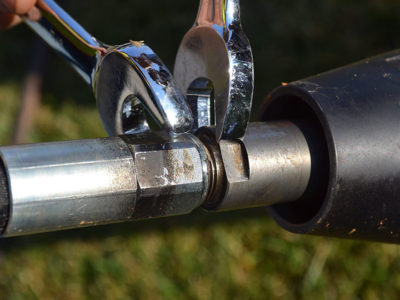
Piercing tools are small yet powerful tools that allow for a quick and easy way to install utility lines. These 10 tips will help in the selection, inspection, use and maintenance of the tool.
- When selecting a piercing tool, the diameter of the tool is the first consideration; the general rule of thumb is to size the diameter of the tool to be 15 percent larger than the largest diameter of the product being installed.
- When faced with hard and/or rocky soil conditions and production rates less than what the contractor finds acceptable, a “moving head” design piercing tool can be chosen. In many cases, production rates can be improved and increased accuracy realized with tools using a moving head design.
- Conduct an inspection before using a tool on a bore. The operator should tip the tool at a 22-degree angle to test the front and rear. This will help determine if the internal piston slides freely and is not binding. If the piston is bound, tight or doesn’t move freely, it is not recommended to use the tool.
- With the high-friction nature of the tool’s application, constant monitoring and greasing of the piercing tool is one of the best ways to preserve its longevity. Pre-lubing and making sure the oilers are full is necessary when beginning a dig.
- The launch pit should have a depth of 10 times the diameter of the piercing tool being used. If you are using a 76.2 cm tool, then the ideal depth of the pit should be 76.2 cm. This allows for the tool to better maintain its bore path and reduce risks of any surface disruptions.
- A production rate of approximately one to 45.72 centimeters per minute is generally the goal for an operator.
- By closing the oiler valve operators can reduce tool swimming; it’s also important to monitor the compressor and maintain pressure at 110 psi.
- When a tool is crossing over, under or next to another utility, the operator should verify that contact has not been made.
- When reversing, always pull and keep tension on the air supply line. This is critical to reduce the risks of backing over the air supply line and shutting down the air supply to the tool. It is also important to monitor tool production when reversing and make adjustments at the oiler valve in order to reduce tool swimming and the risk of backing over the hose.
- Start a routine maintenance schedule. Factors that contribute to the regularity of service required include: total time used, oiling consistency, ground conditions in which the tool has been used and the debris in the ground.
