If you want to maximize the linear feet of product placed in the ground while maintaining the longevity of your utility drills, it is important to consider horizontal directional drilling (HDD) maintenance practices. Proactively addressing common component wear helps extend life and prevent unexpected surprises.
Clint Recker, Vermeer product manager for utility HDD recommends closely monitoring a variety of components on your drill, including:
- Sub saver
- Drill rods
- Grease buckets
- Rod wipers
- Vise dies
Read on to get expert advice on caring for these wear parts.
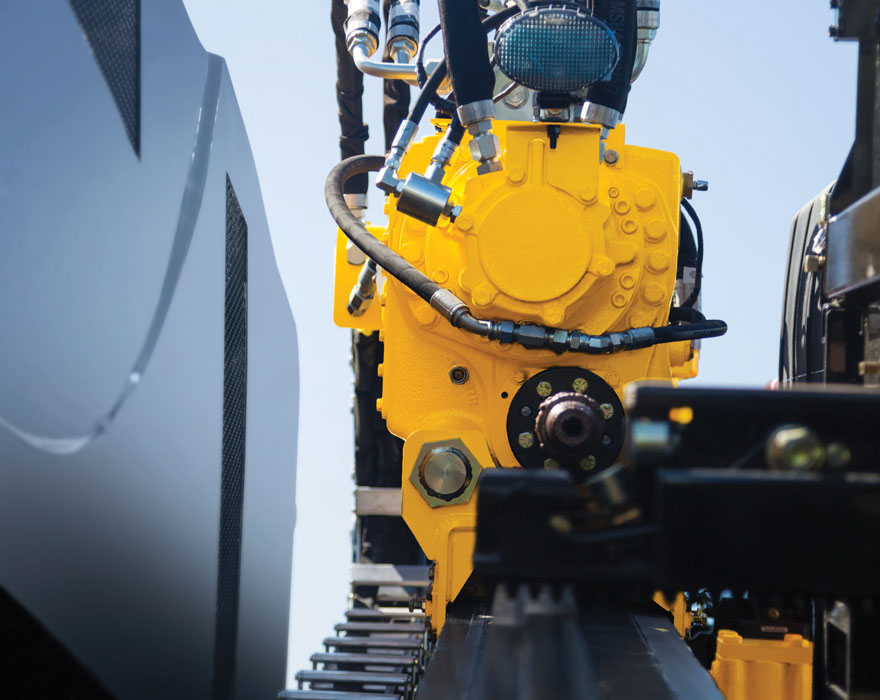
Sub Saver
The sub saver touches every drill rod and can quickly wear out if not properly maintained. Following recommended procedures for making and breaking rods and using the carriage float can help extend its life.
“Being impatient when putting rod together and taking it apart can accelerate wear of the sub saver,” said Recker. “You can damage threads or flare rods.”
Good horizontal directional drilling maintenance includes keeping a close eye on the sub saver. Checking threads using thread gauges and replacing the sub saver in a timely manner can help prevent damage to the drill rod and other components.
Here’s how to determine when to replace the sub saver on your utility-size HDD.
- What to look for: Jagged edges or rounded thread profiles indicate that it’s time to swap out sub savers. But don’t just trust your eyes to determine the condition of threads. Use a thread profile gauge to accurately access the sub saver’s condition.
- What happens if you wait: The sub saver can potentially damage threads on every piece of drill rod it interacts with. You can damage a whole basket of rod due to a bad sub saver.
- Recker’s advice: “Be diligent when making and breaking rod. Use the carriage float; let it do its job. Gauges will help you evaluate wear on the sub and indicate when it should be replaced. Timely replacement of the sub saver will help extend the life of the drill rod.”
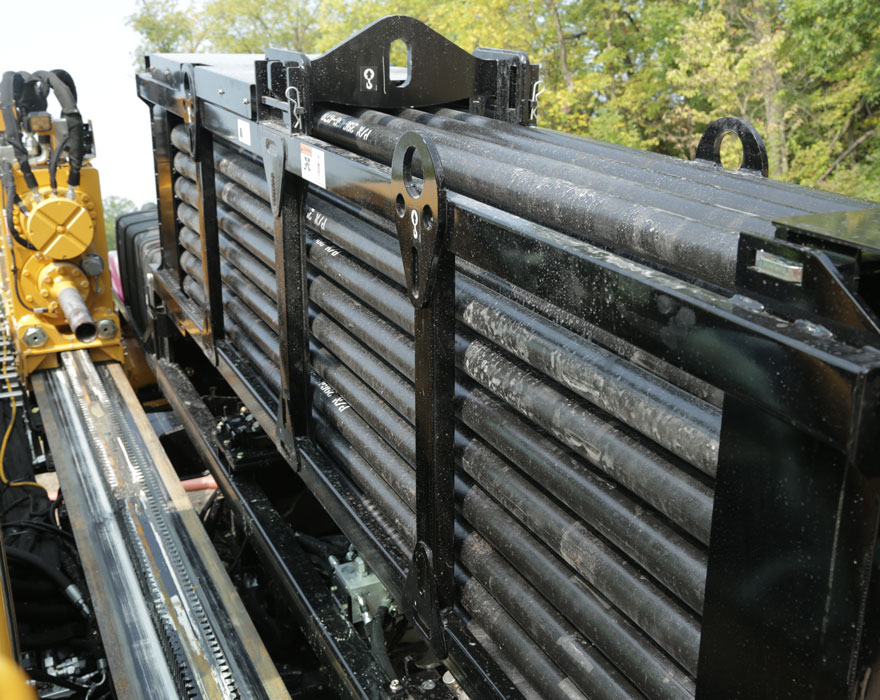
Drill rods
Drill rods will eventually need to be replaced. The threads wear over time and the rods can bend when under steering forces. Keeping drill rod threads clean, greased and covered when not in use will help maximize their life.
Here’s how to determine when to replace drill rod on your utility-size HDD.
- What to look for: Check threads, pins and shoulders using a thread gauge to help identify any damage that could impact neighboring drill rods. Then make sure the drill rods are straight. Bent or over-steered drill rods can cause binding in the rod box, making it difficult to remove the rod. To check for bent rod, you can just try to roll it across the bed of your flatbed trailer. Does it roll true or is it bent?
- What happens if you wait: A damaged rod that is left in the drill string can damage neighboring rods or fail downhole.
- Recker’s advice: “You may be able to extend the life of your drill rod by adopting the practice of rotating drill rods as part of your horizontal directional drilling maintenance. Rotating drill rods can help spread wear over the basket of rods. This involves taking the first row of rod and putting it at the back row of rod. Your first row of rod is getting the most amount of steer on it. You are going from some angle to roughly horizontal, depending on the jobsite configuration. Remove any bent rods from the basket.”
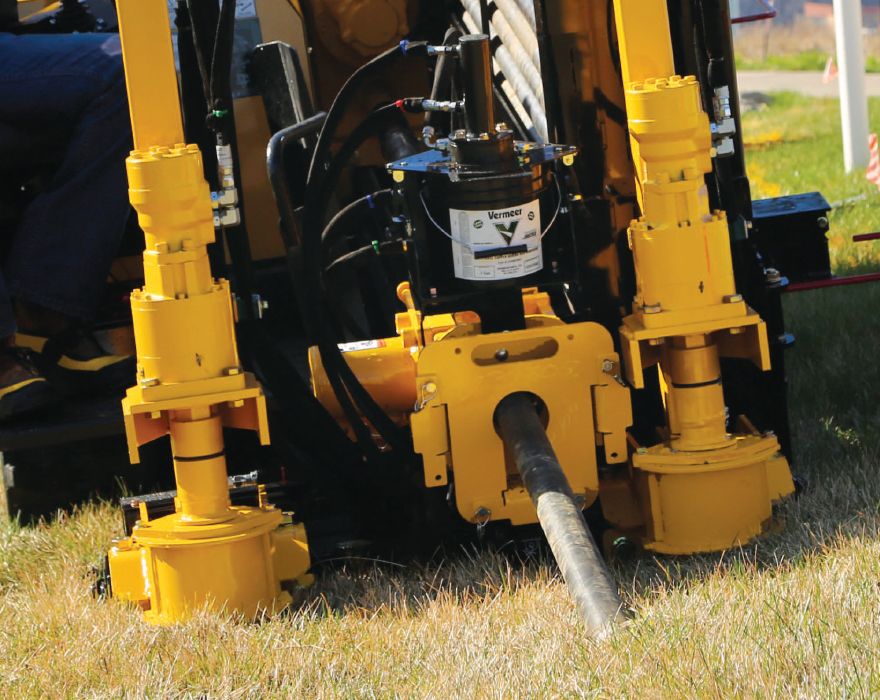
Grease bucket
When it comes to horizontal directional drilling maintenance, make sure every threaded connection is greased each time a rod is added. Visibly verify that there is grease in the bucket and that the auto greaser is performing properly.
- What to look for: Check the level of grease each day at startup and refill as needed.
- What happens if you wait: A lack of grease between threaded rod connections will accelerate wear and may result in seizing and galling. A lack of grease can also affect the friction between the threads and prevent the rod connections from achieving proper torque.
- Recker’s advice: “Rod grease prevents metal on metal threaded connections. So while this tip seems fairly obvious, it’s important to prevent accelerated rod wear.”
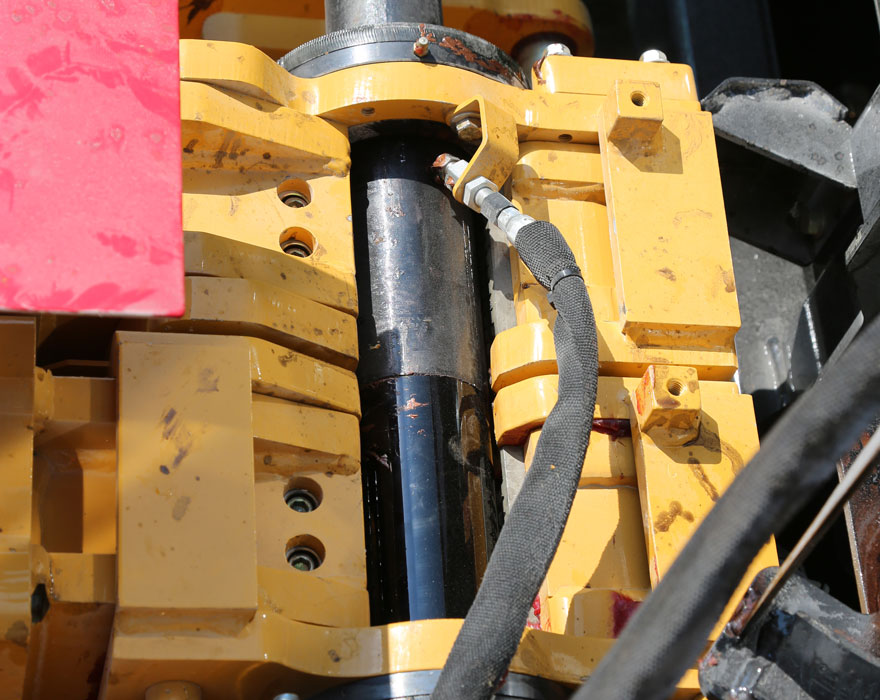
Vise dies
The vise is responsible for torquing and un-torquing every drill rod going into the ground. Gripping each connection are vise dies, commonly referred to as vise jaws. Vice dies start off with small edges, or teeth, to grip the drill rod when making or breaking a connection. Over time, those edges will wear down and can start to slip when torquing a connection.
Here’s how to determine when to replace the vise dies.
- What to look for: You will see the slip marks on the drill rod instead of clearly identifiable teeth marks. If you notice rod slip, first try cleaning the vise dies. If the vise dies are still slipping, it may be time for replacements.
- What happens if you wait: Keeping the vise clean and replacing the dies when necessary can help prevent damage to the drill rod through improper torque. If the vise dies aren’t gripping, it’s hard to achieve the desired torque when making a rod. You work the machine harder when trying to break a connection. Properly torquing drill rod connections can result in fewer instances of the rod joints becoming overtightened downhole.
- Recker’s advice: “In addition to vise dies wearing out, grease buildup is another issue that operators should monitor. Grease in the vise dies prevents their teeth from grabbing and effectively holding the rod. Along with running a good rod wiper, it’s advised to power wash the vise die at least weekly. If the cleaned vise dies slip, swap them out.”
Rod Wiper
Every time a drill rod is pulled out of the ground it needs to be cleaned before putting it back in the rod box. That’s the function of the rod wiper. The rod wiper helps keep grit out of the vise dies and off the rack and rod loader arms. The rod wiper also helps prevent grit from entering the rod box.
Your crew should monitor the condition of the rod wiper.
- What to look for: Debris buildup on the vise dies and ribbons of mud on the drill rod are indications it may be time to replace the rod wiper.
- What happens if you wait: A worn wiper rod can allow contamination buildup on the vise dies and in the rod box.
- Recker’s advice: “You can help extend the life of a rod wiper by removing it when drilling out. The only time you need a rod wiper is when you’re returning rods to the box. You would then reinstall the rod wipers prior to pulling back.”
Keep a watchful eye
Sub savers, drill rods, grease buckets, vise dies and rod wipers all need regular care. By following these tips for horizontal directional drilling maintenance, you can help maximize the life of your utility drills and help prevent damage to other components. If you have any additional questions about maintenance, be sure to contact your local Vermeer dealer.
Vermeer Corporation reserves the right to make changes in engineering, design and specifications; add improvements; or discontinue manufacturing at any time without notice or obligation. Equipment shown is for illustrative purposes only and may display optional accessories or components specific to their global region.
Please contact your local Vermeer dealer for more information on machine specifications. Vermeer and the Vermeer logo are trademarks of Vermeer Manufacturing Company in the U.S. and/or other countries. © 2024 Vermeer Corporation. All Rights Reserved.